Learn more about LeanRecord’s intuitive user-interface.
- Sign up and Log in
- Create or Join an organization
- Enter a departement structure
- Enter instructions
- Combine instructions to profiles
- Enter Persons and connect them to Profiles
- Record trainings
- Review the training score
- Advantage of using the iOS/Android app & the web-application
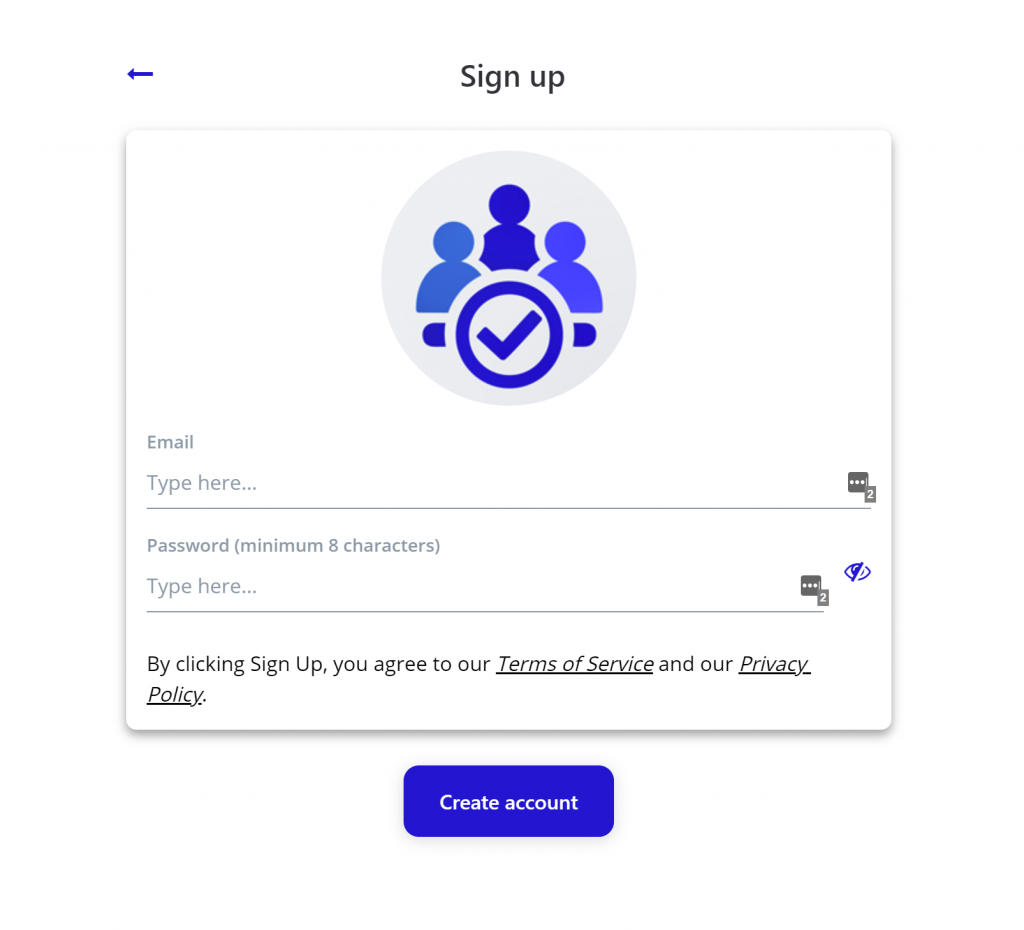
Sign up and Log in
To create and authorize your user account, you are asked to enter a valid email adress and a secure password. Upon registration you will receive an email with a link to confirm, that you are the actual email address holder.
Create or Join an organization
When logging in for the first time, you will be asked to create or join an organization.

- Option A – create new organization: To start from scratch, enter any name for your organization and create it by tapping on the ‘plus’-icon.
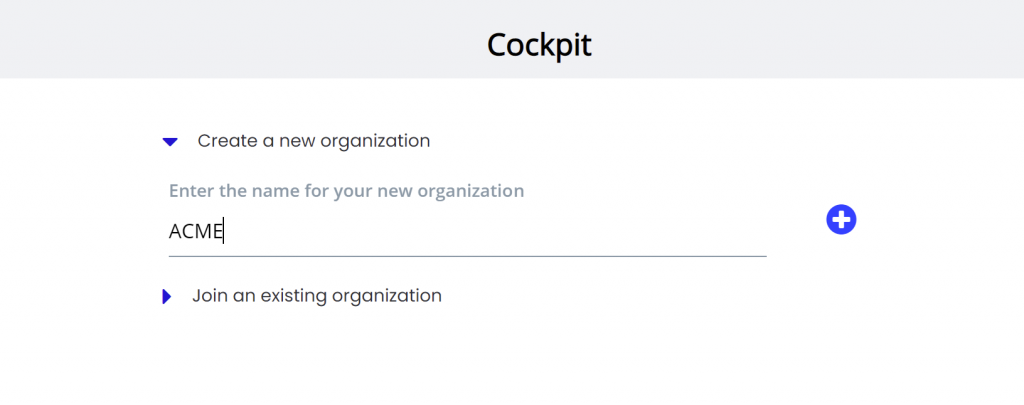
- Option B – join an existing organization: If you have received an invitation code (e.g. provided by a colleague of yours), you can join the organization. Just paste the invitation code and tap the ‘plus’-icon.

Now let’s explore, how you can customize your organization in the ‘Cockpit’.
Enter a departement structure
Depending on how you intend to use LeanRecord, entering a departement structure might simplify your daily work later on. A departement structure allows to filter for persons, instructions or evaluations later on.
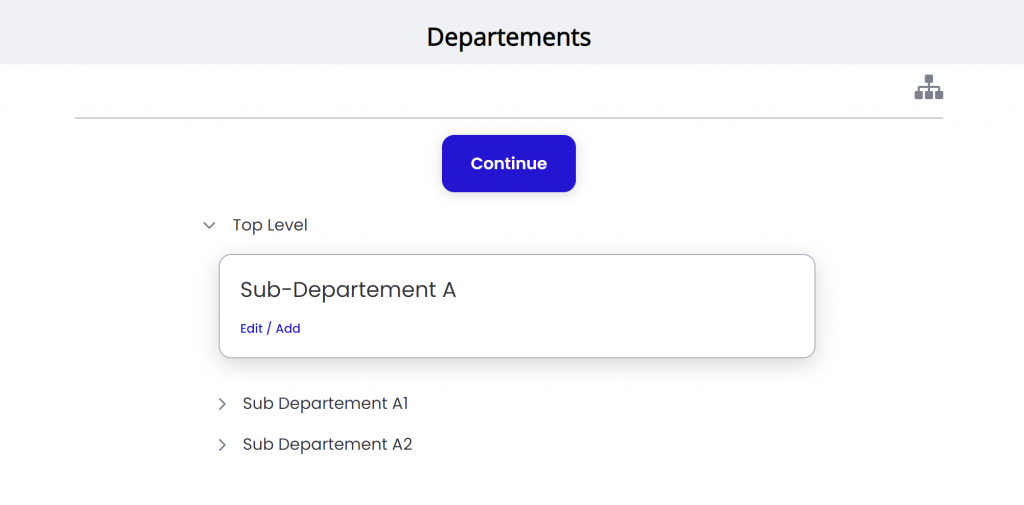
Every organization will start with a ‘Top Level’ departement. This departement can not be deleted or modified. However, you might add subordinate departements in a customized, hierarchic structure.
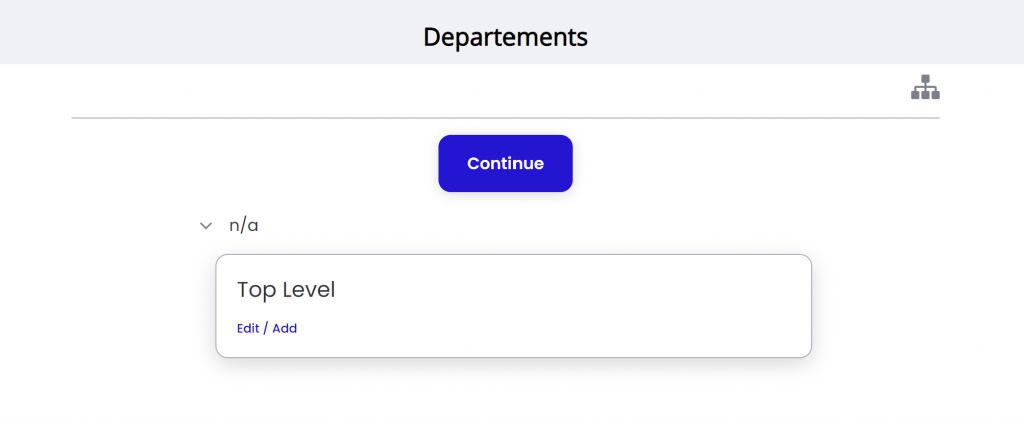
To add a subordinate departement, tap on the ‘Edit / Add’ field and fill in the subordinate departement name.
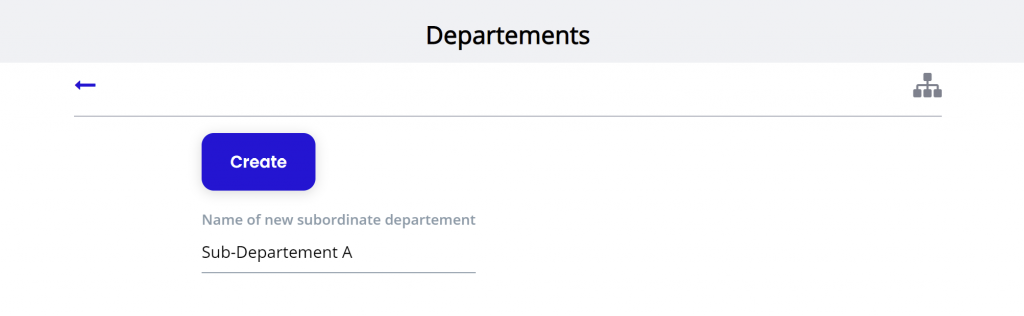
Then add more departements, until your departement structure is complete.
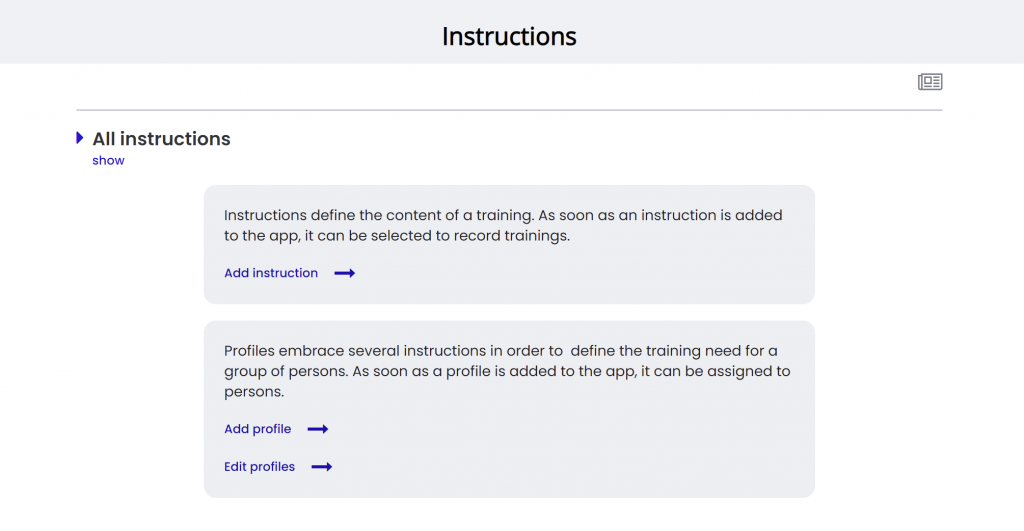
Enter instructions
On the instructions page, tap on ‘Add instruction’.
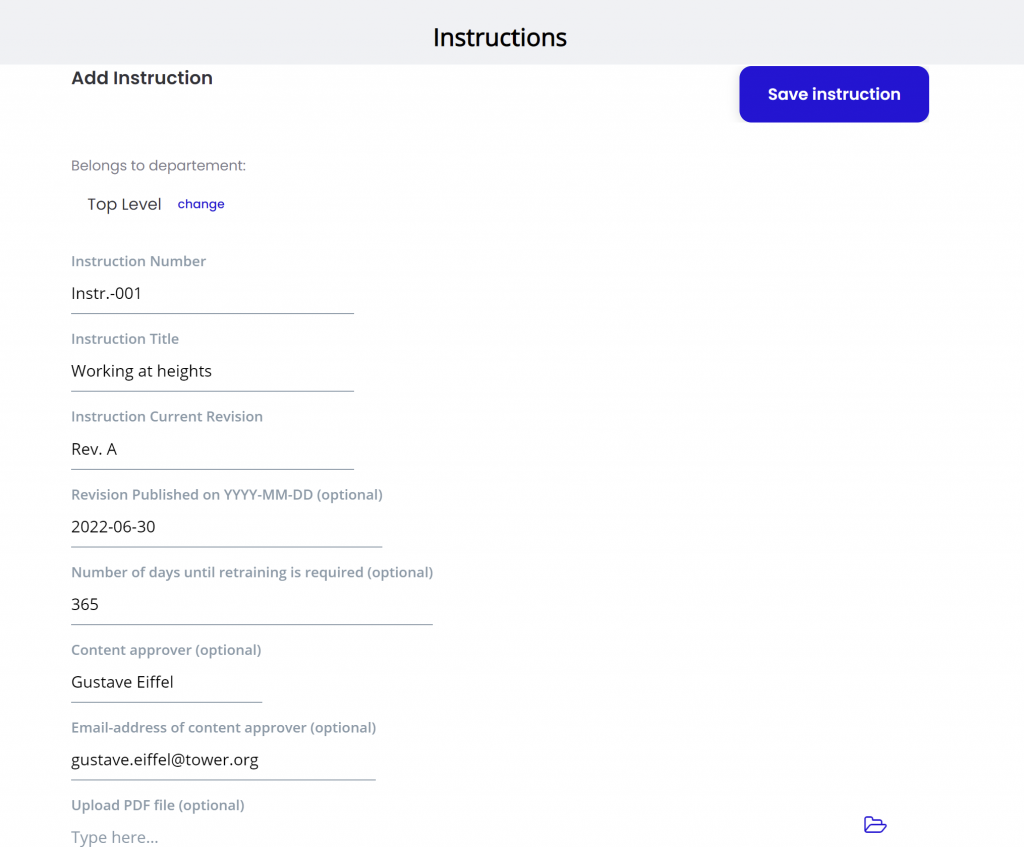
To add the instruction, fill out the fields that will support you in your work later on.
- Belongs to departement: A departement structure will allow you to filter your instructions later on. This will be helpful as soon as your instruction collection starts to grow. As default, the field will show the department, that you picked on the ‘departement’-page in the previous step.
- Instruction number: The instruction number is your fix identifier for this particular instruction. Please note, that instruction numbers need to be unique and can include letters as well as numbers (e.g. ‘Instr.-001’).
- Instruction Title: The title condenses, what the instruction is about.
- Instruction Current Revision: The content of your instructions will need updates from time to time. The revision will indicate, which instruction is currently valid. You can choose any structure, that fits best for you (e.g. A, B, C, D… | Rev-1, Rev-2, Rev-3, Rev-4, … ).
- Revision Publishing Date on YYYY-MM-DD (optional): The revision publishing date might help you to keep a clear overview. To fill out the field, either type in the date or pick the date from the calendar. This field is optional.
- Number of days until retraining is required (optional): If a retraining is required after a certain interval, fill in the appropriate number of days (e.g. 365). Leave the field empty, if there is no such need to retrain the instruction.
- Content approver (optional) & Email-address of content approver (optional): To show who approved the instruction in its currently valid revisionand how to contact that person. Intended to help associates, who like to suggest an update of the instruction. This field is optional.
- Upload PDF file (optional): Attach the PDF file of the instruction in its currently valid revision, if that supports the efficiency of your trainings. This field is optional.
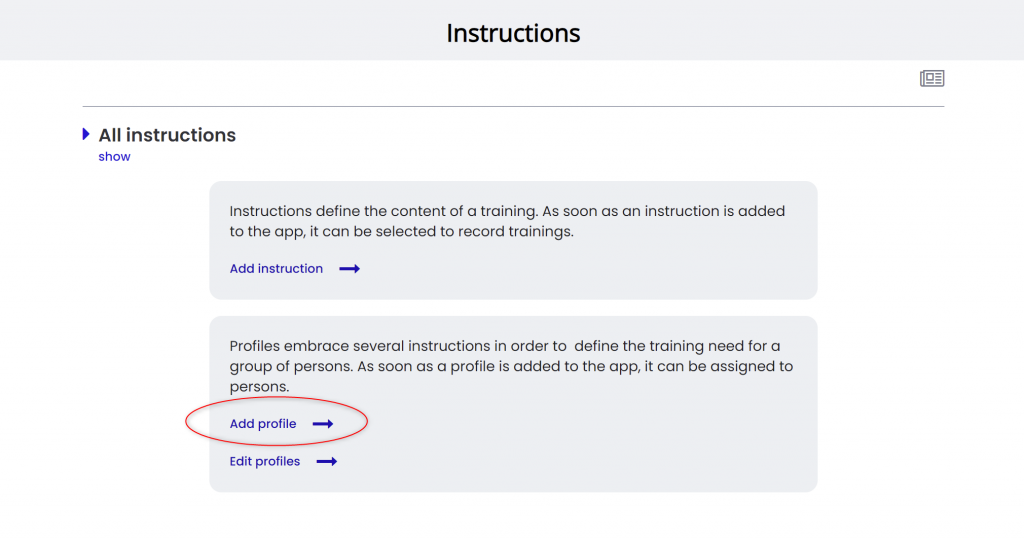
Combine instructions to profiles
Profiles embrace several instructions in order to define the training need for a group of persons.
To add a profile, tap on ‘Add profile’ on the instructions page.
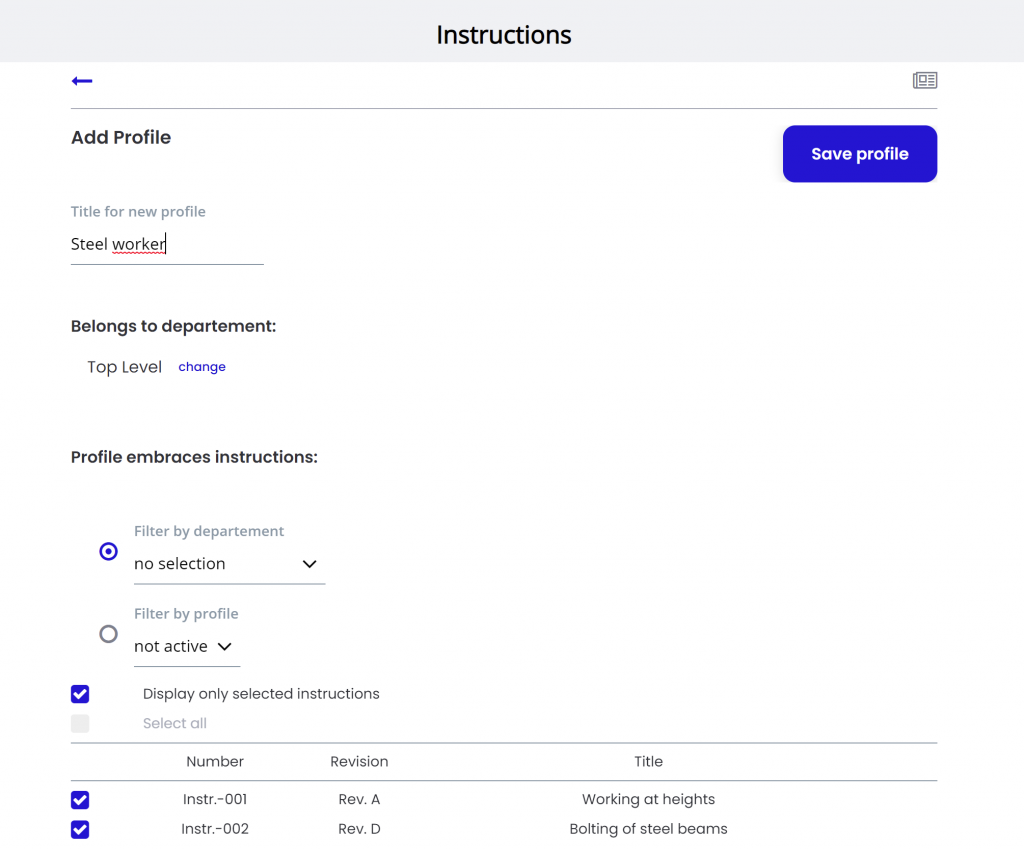
Fill out the profile creation form
- enter a profile title (e.g. ‘Steel worker’)
- choose a departement
- select the appropriate instructions
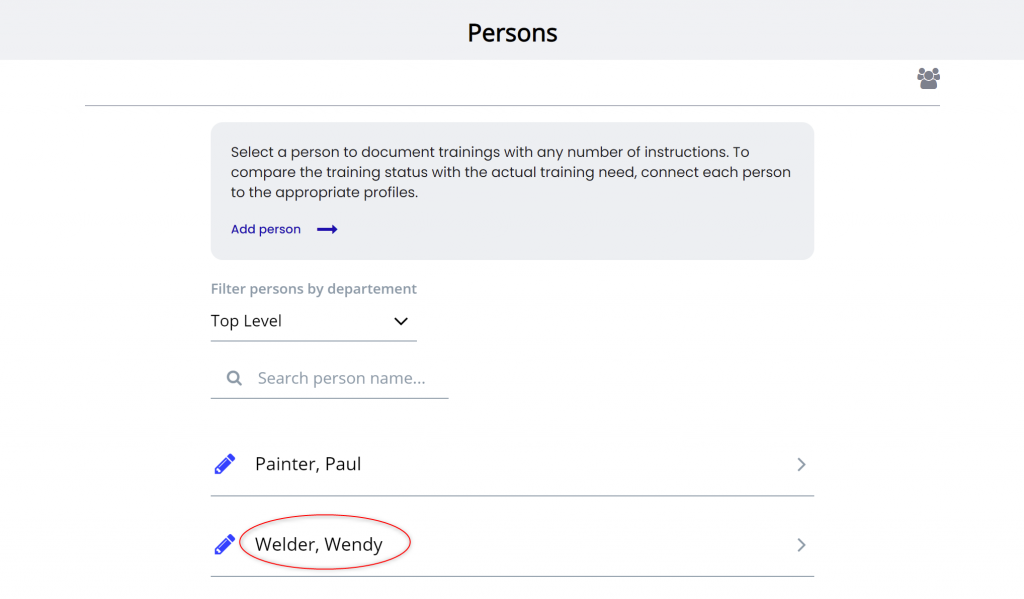
Enter Persons and connect them to Profiles
The individual persons in the workforce of your organization will need individual trainings.
To enter persons, tap on ‘Add person’ on the persons page.

The fields in the ‘Add person’ form are
- First name
- Last name
- Personnel number (optional): The personnel number can needs to be unique and can include letters as well as numbers (e.g. ‘P-1889’).
- Email address (optional)
- Connect person to profile (optional): A person can be connected to several profiles. Hereby the training need for that person is defined. The evaluation (‘score’) of the organization will check, if such training need is already accomplished or not.

Record trainings
All trainings should be recorded and stored to demonstrate the training status of the organization in a transparent way.
To record a training just follow these steps
- Select the applicable instructions on the ‘instructions page’. Switch the checkbox of all instructions, that were included the training.

- Select the trained person. Please note that each record is for one person at a time.
Tap the ‘Record Training’-Button on the Cockpit page.

Note: The ‘Record’-page is the only section, where the App (iOS, Android) and the web-application (broser e.g. Edge, Chrome, Safari) differ: When using the App (iOS, Android), the signature can be entered on the touch screen and be included in the PDF. When using the web-application (browser), no signature can be added and the PDF will therefor be generated without a signature.
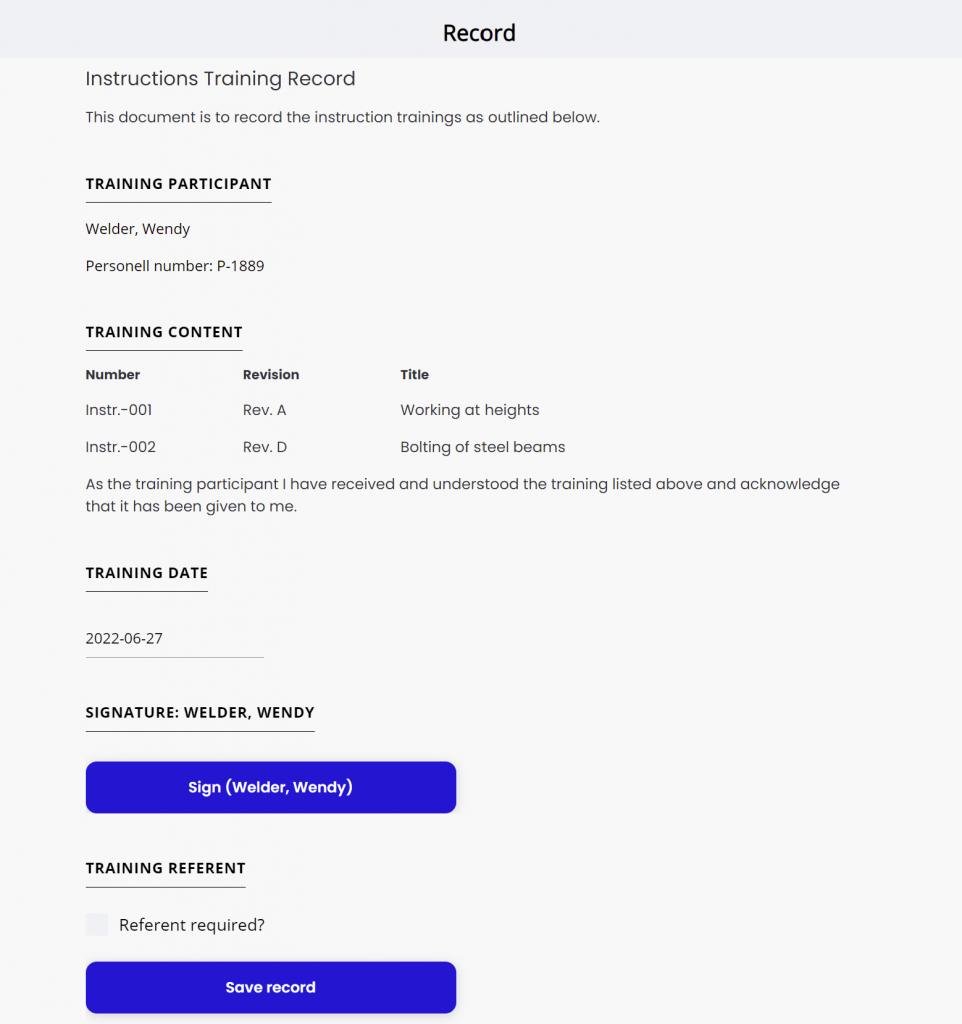
Have the training participant review the record content displayed.
Then the training participant might tap the ‘Sign (last name, first name)’-button and confirm the training with a signature (available in the iOS or Android app and not available in the web-application in the browser).
Option: The training referent might confirm the training with a signature as well.
Finally tap the ‘Save record’ button to generate and store a PDF document as well as update the database.
As soon as the PDF is generated and stored, you can open it by tapping the ‘Show record (PDF)’-button.
Note for PDF-preview on iOS: The most convenient way to navigate back to the app is to swipe from left to right with two fingers at the same time.
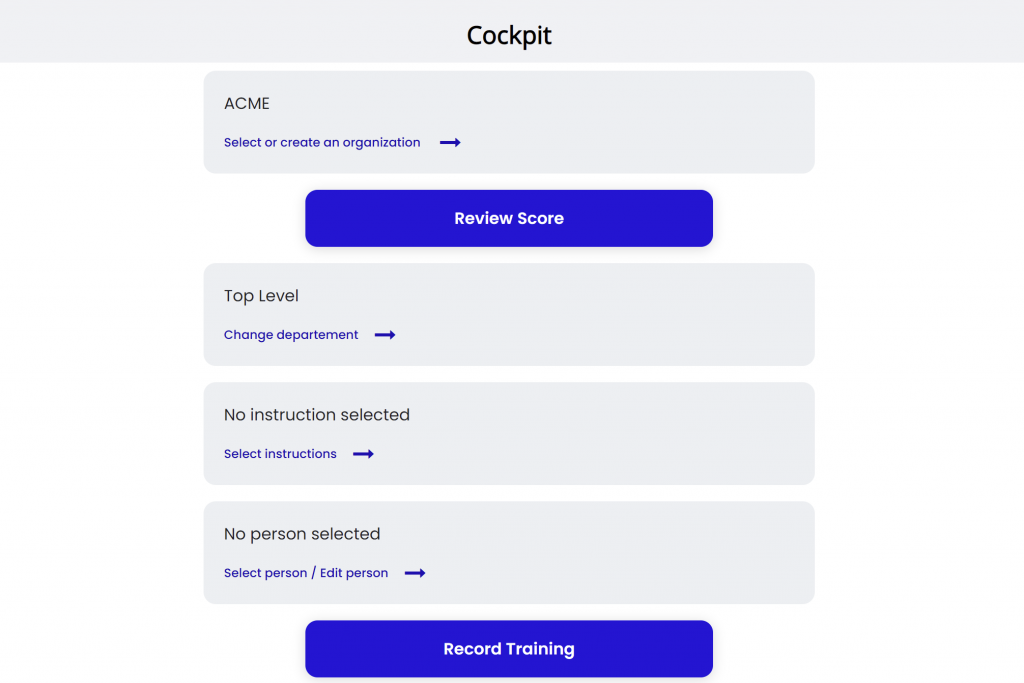
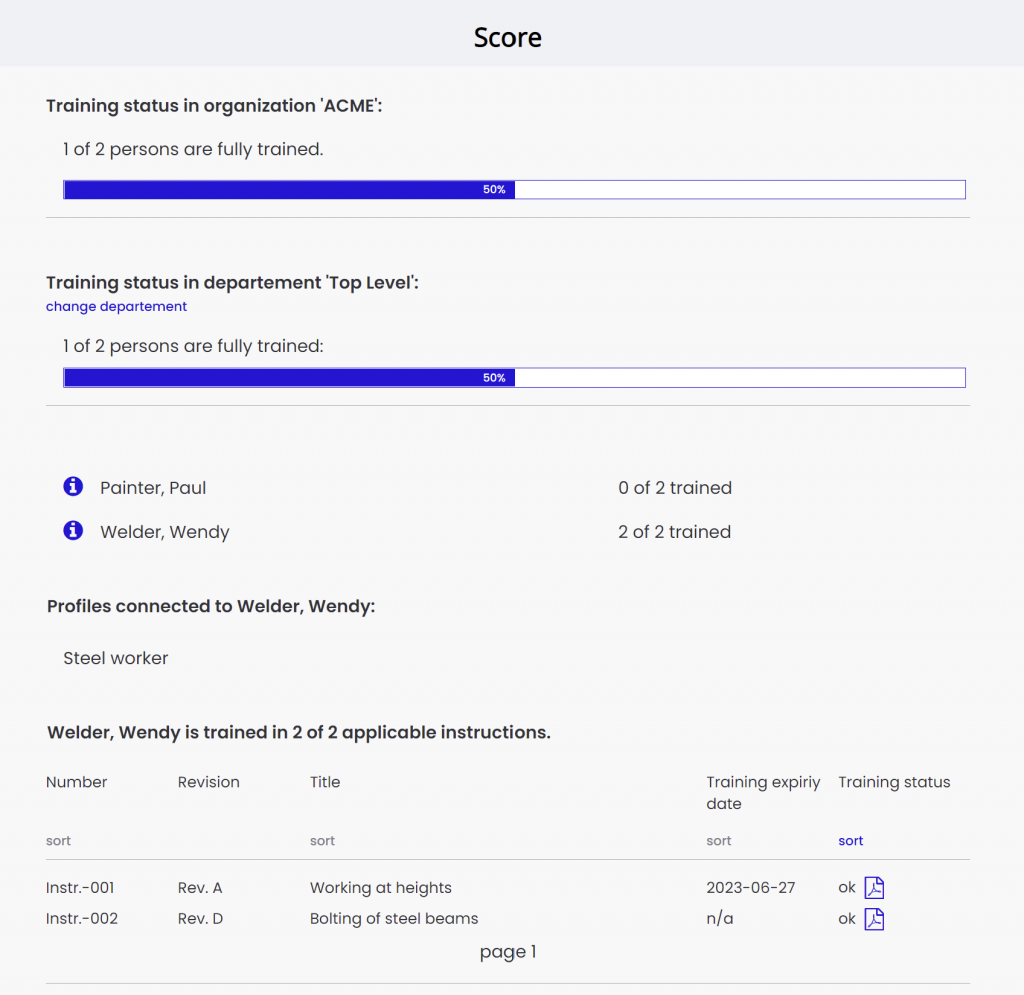
Review the training score
Evaluating the training score allows to reveal training gaps at a glance.
Just tap the ‘Review Score’-button on the Cockpit-page. The score is calculated for:
- the organization
- per departement (tapping on ‘change departement’ allows to browse to any departement in your structure)
- per person (tap any person’s name in the list, to display the individual training status)
Advantage of using the iOS/Android app & the web-application
You can use the app both on iOS/Android and in your browser. While capturing signatures on your touch display is only available with the iOS/Android app, maintaining the lists of team members or instructions might be more convenient with the desktop browser.